What is Autodesk inventor?
|
Inventor is a modeling program where you can create 3D models. Inventor allows you to create three different types of models, 3D parts, assemblies of the 3D parts, and 2D drawings. You use inventor by creating 2D sketches, then giving them 3D form by extruding them. Inventor is easy to use and very versatile. Novices can easily learn the basics, while pros can quickly and efficiently create what they envision.
|
Completed Widget 1
Completed Widget 2
Completed Widget 3
Completed Widget 4
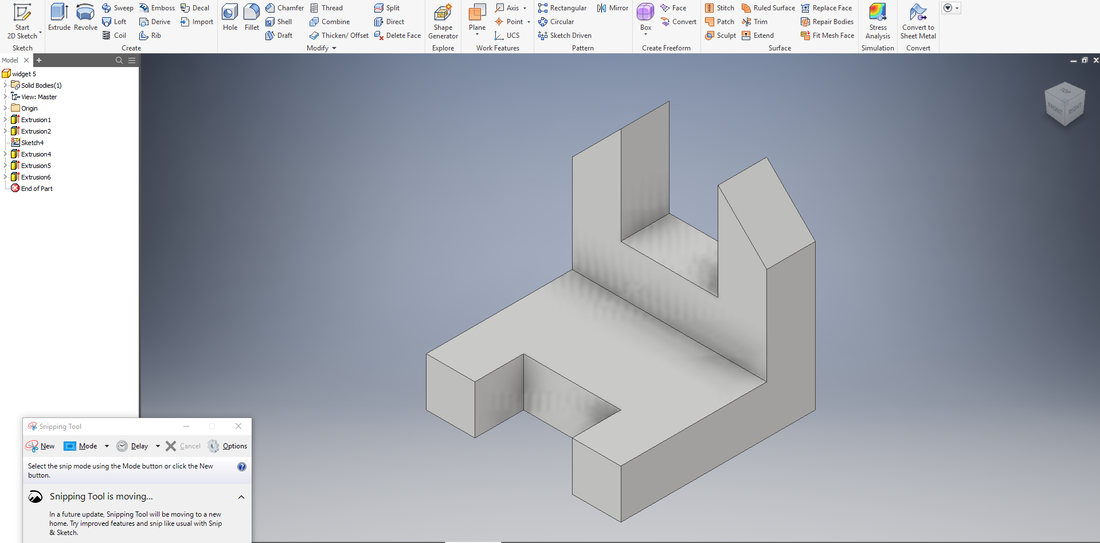
Completed Widget 5
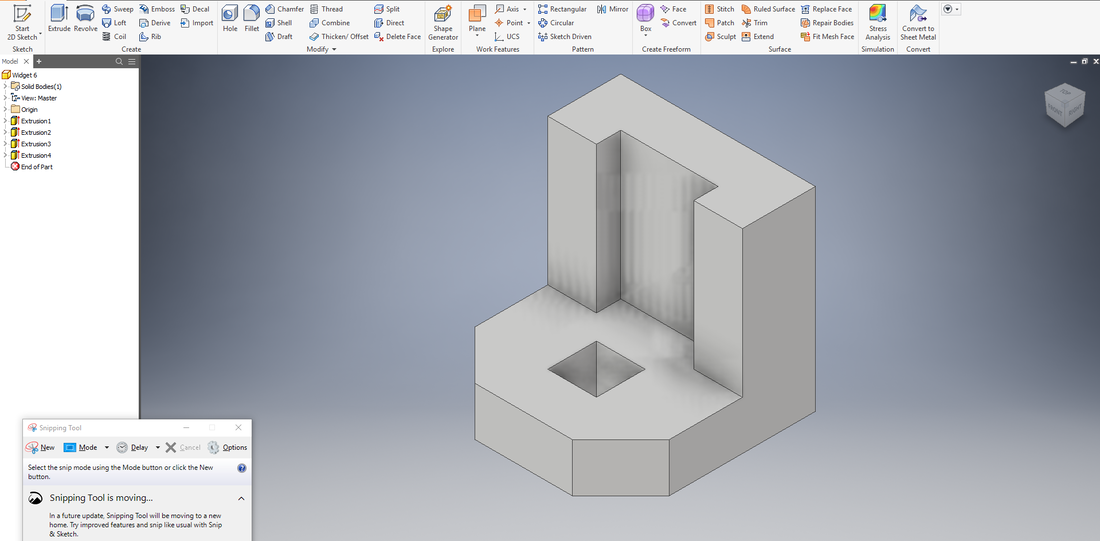
Completed Widget 6
Creating Widget 5
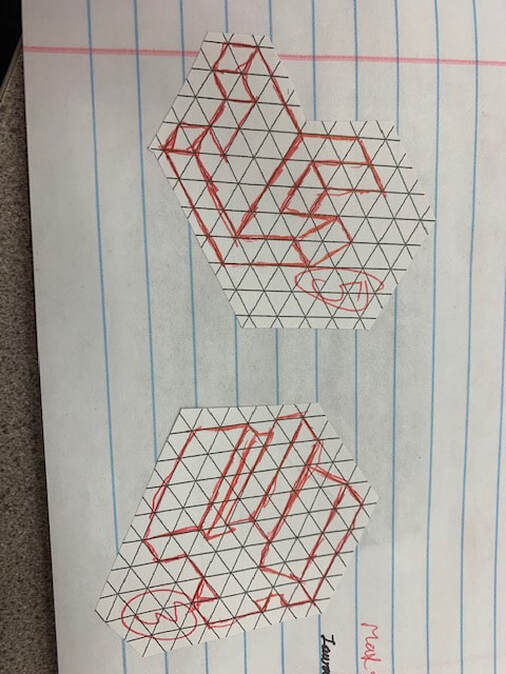
These are the sketches I made the widget from.
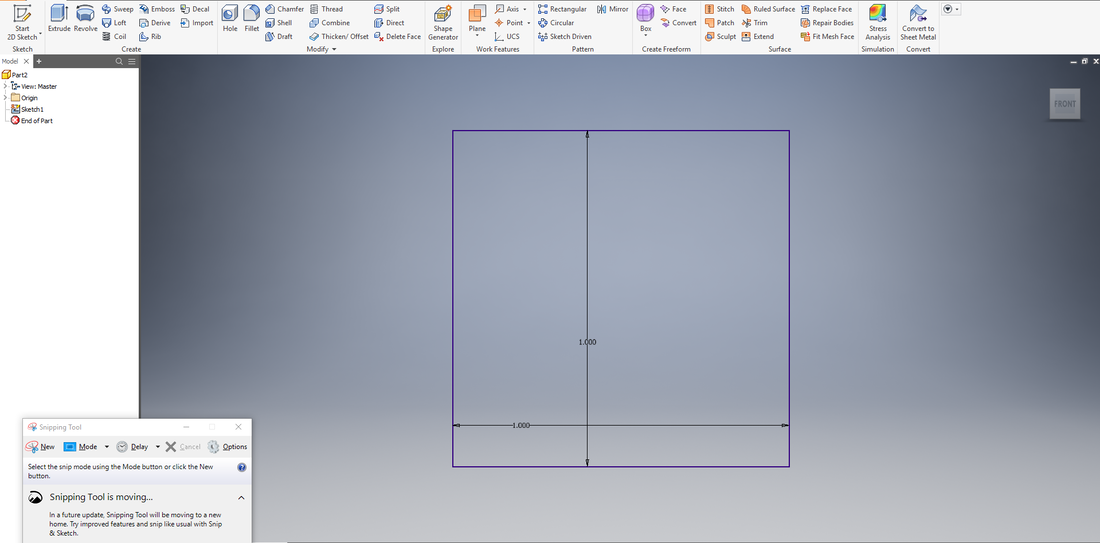
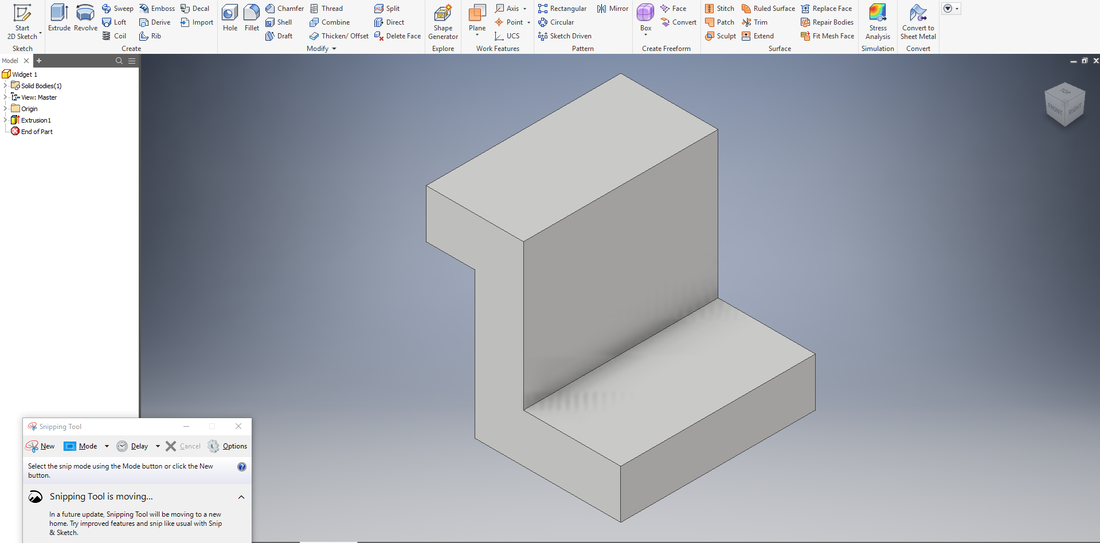
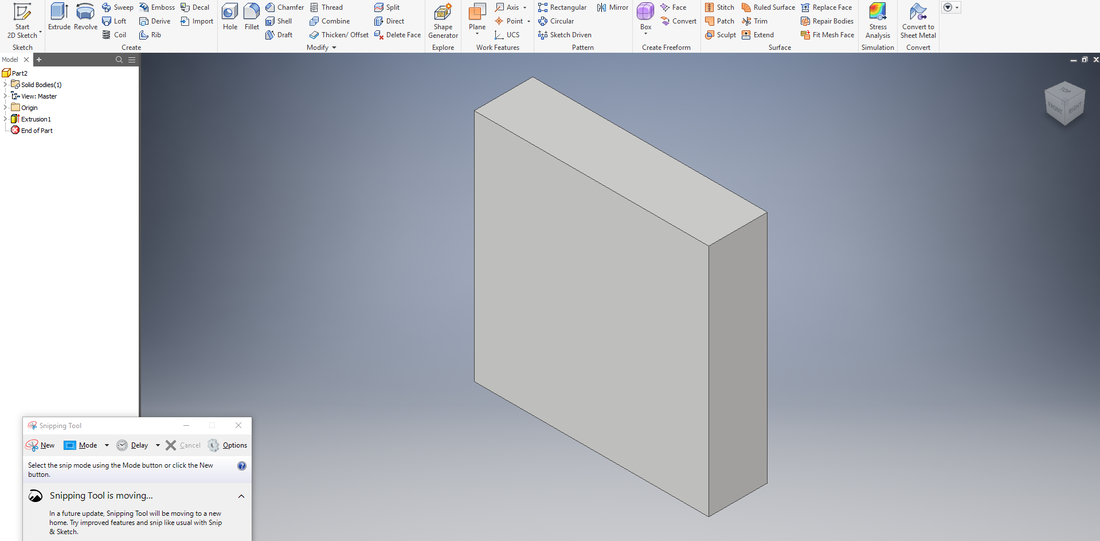
The first step in creating widget 5 in autodesk inventor is to sketch a 1 x 1 rectangle.
Extrude the sketch .25 inches.
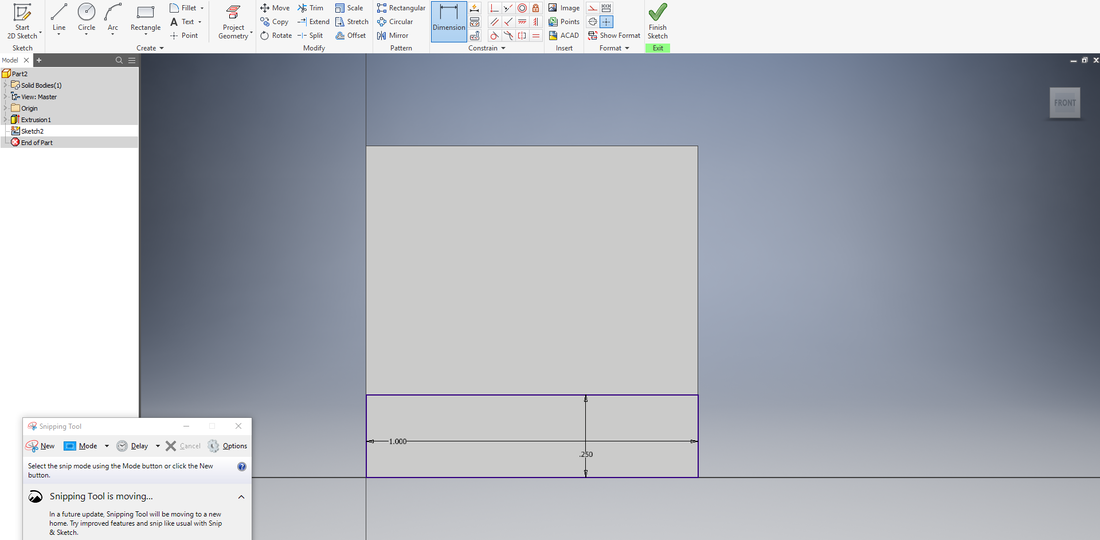
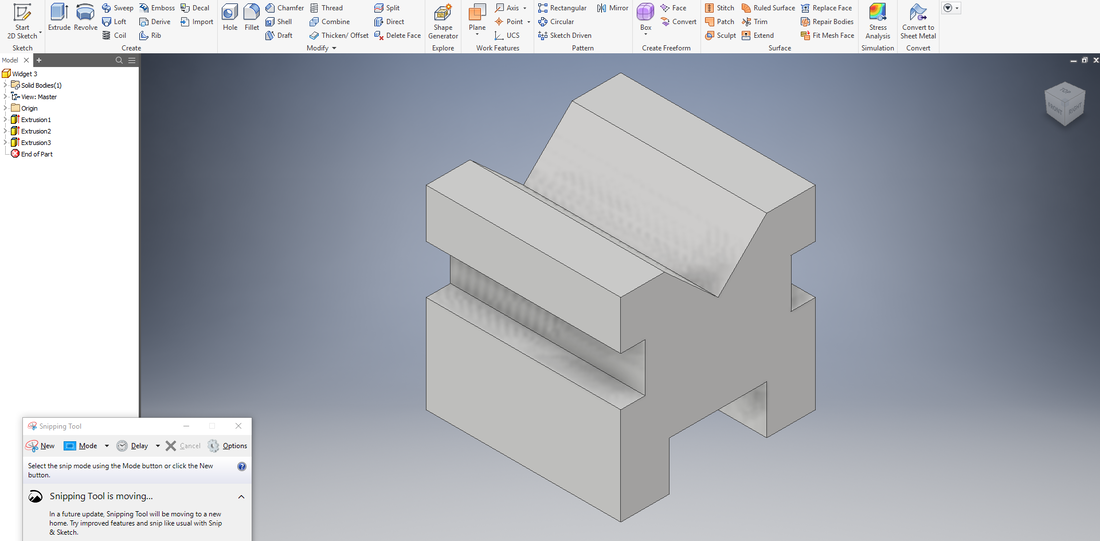
Start a new sketch on the face of the rectangle, and create a 1.0 x .25 inch rectangle on the bottom side like this.
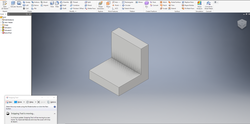
Extrude
Extrude .75 inches
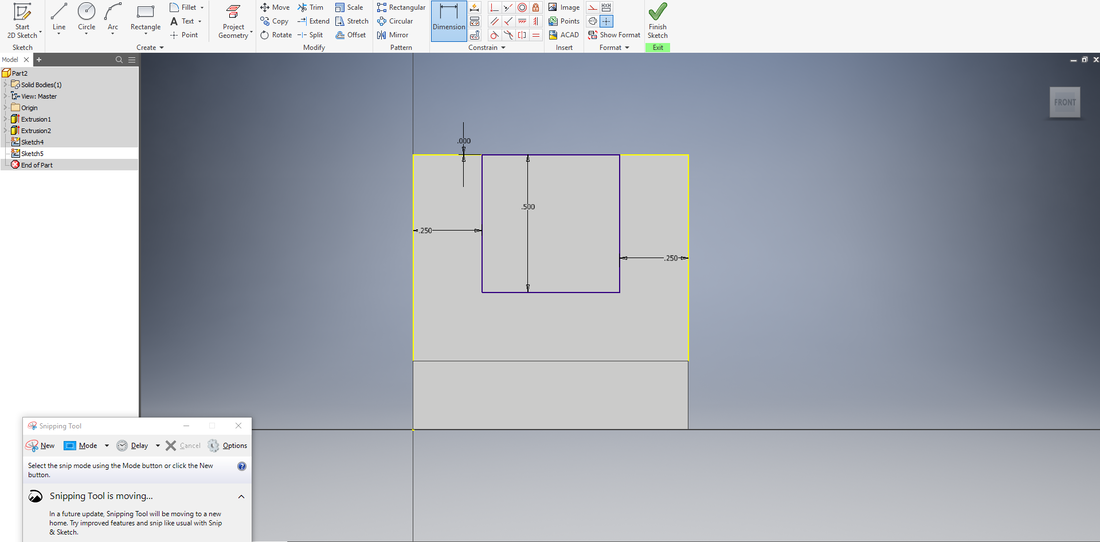
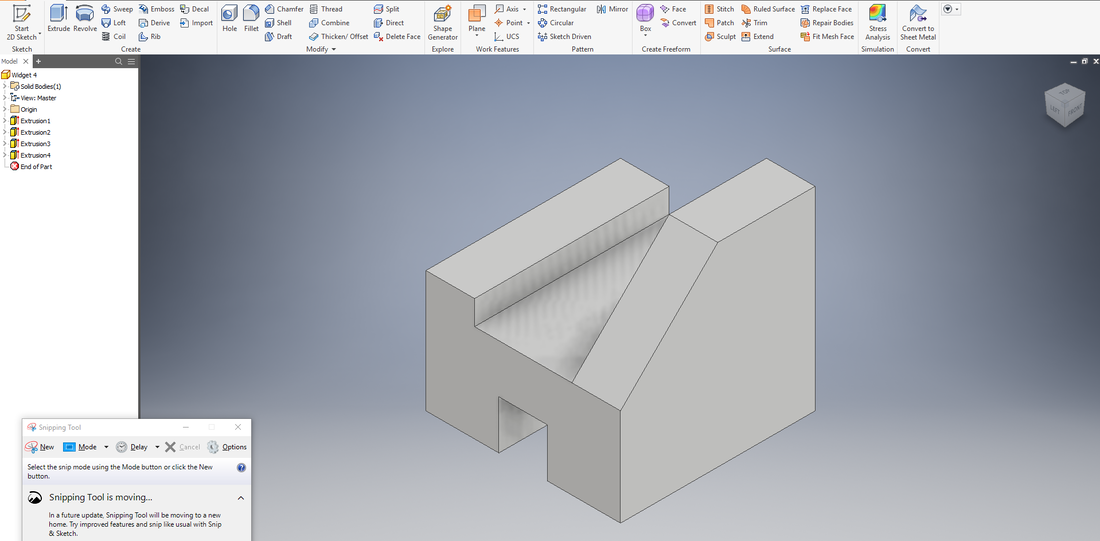
Start a third sketch on the vertical side. Make a centered .5 x .5 inch square on the face.
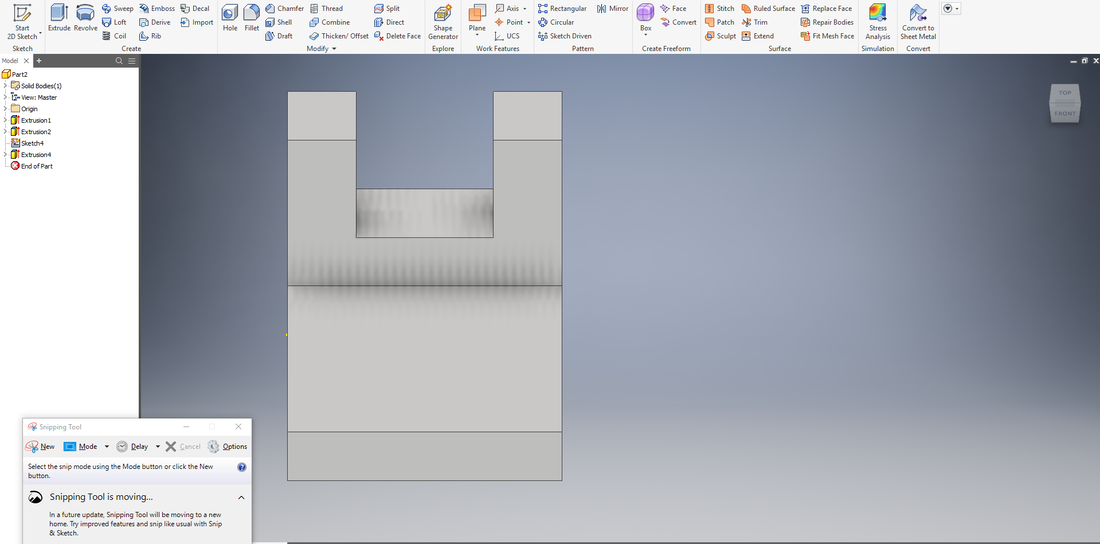
Extrude backwards at least .25 inches to cut it out.
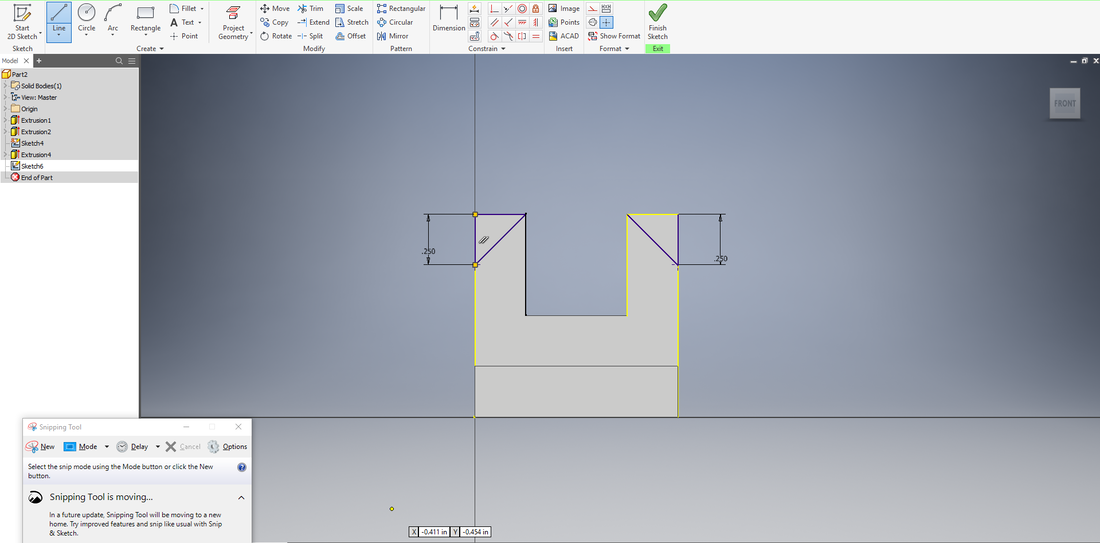
Using points and lines, create a right triangle in the top outside corner of the prongs. The legs should be .25 inches long each.
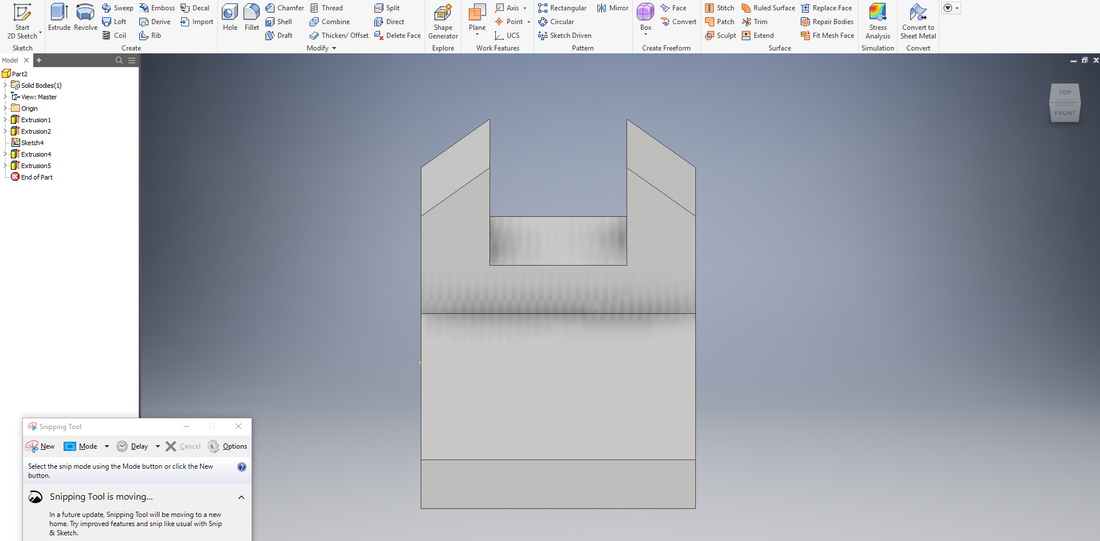
Extrude backwards at least .25 inches to cut them out.

Start a fourth sketch on the bottom side. Make the rectangle .25 x .5 inches and center it.

Extrude away at least .25 inches to cut it out and finish the model of the widget.
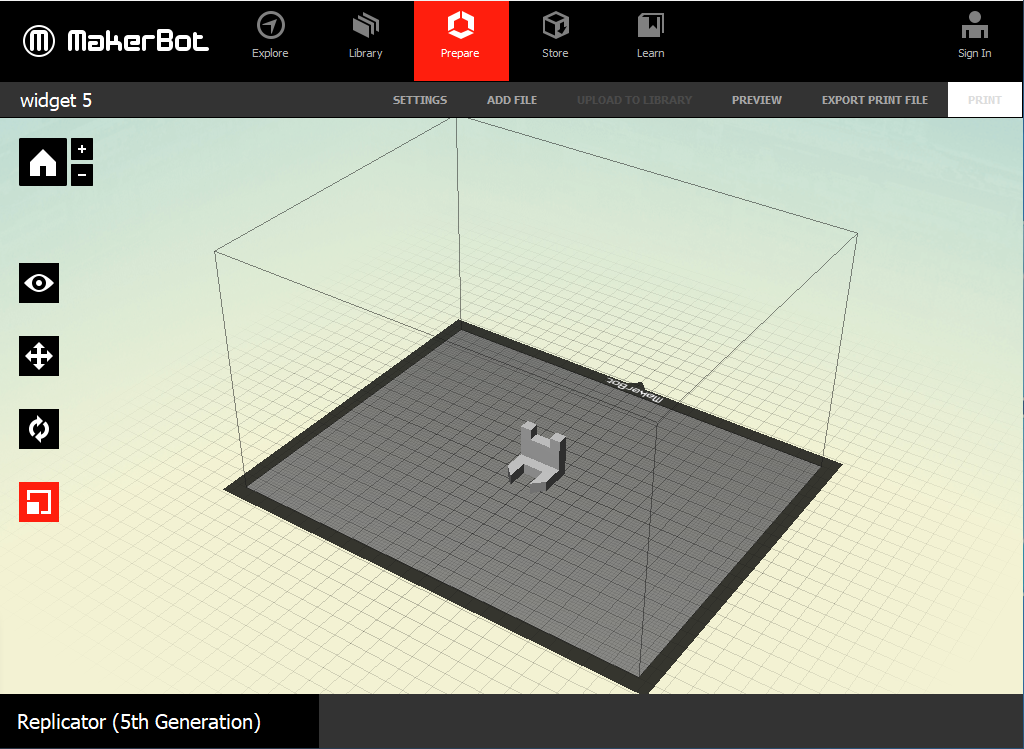
Upload the widget file to maker bot, then rescale to 1000%.
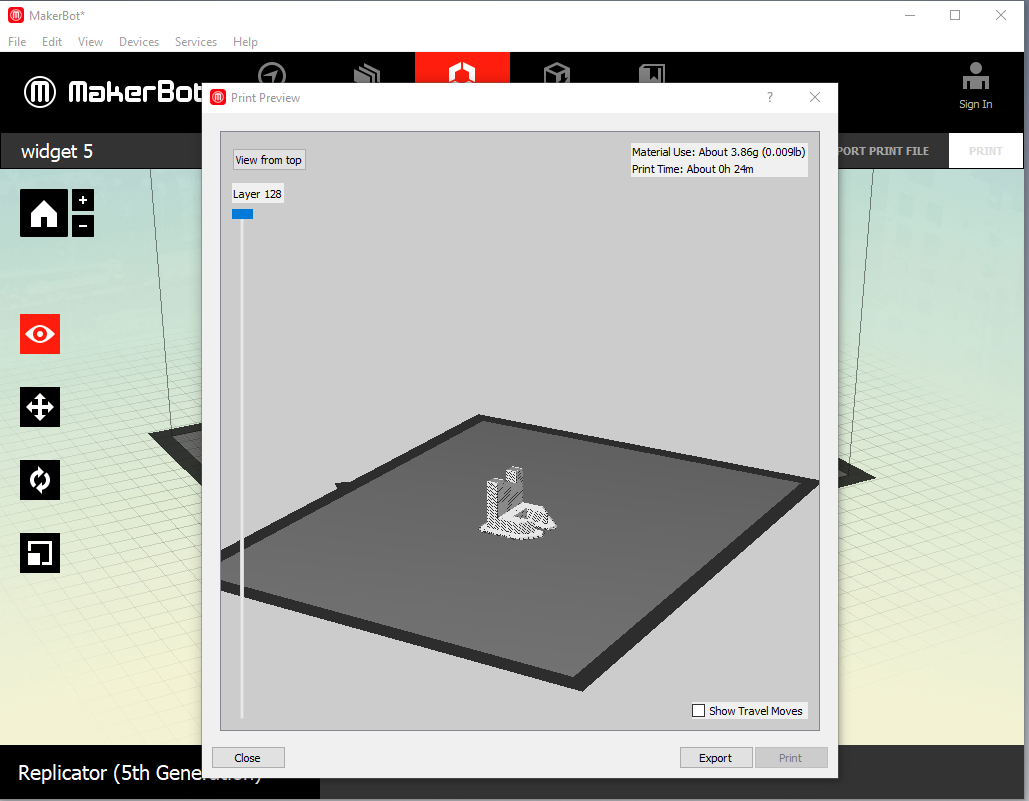
Download the file onto a flash drive.
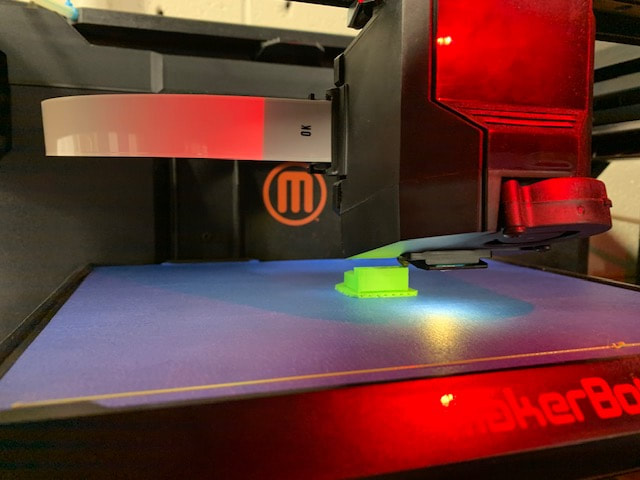
Print the widget on a 3D printer to get the final product.

Summary
|
|
In summary, this unit is learned how to operate the 3D printer and use maker bot. I had some experience with Inventor before this unit. so the control were familiar and all I needed was a small refresher to remember how to use it. the widgets were good practice though. specifically, I learned how to scale in maker bot, how to print something on the 3D printers off of a flash drive,and how to use the isometric graph paper.
|
